5 Ways to Efficiently Proof Your File Before Printing It
5 Proofing Tips to Use Before Printing

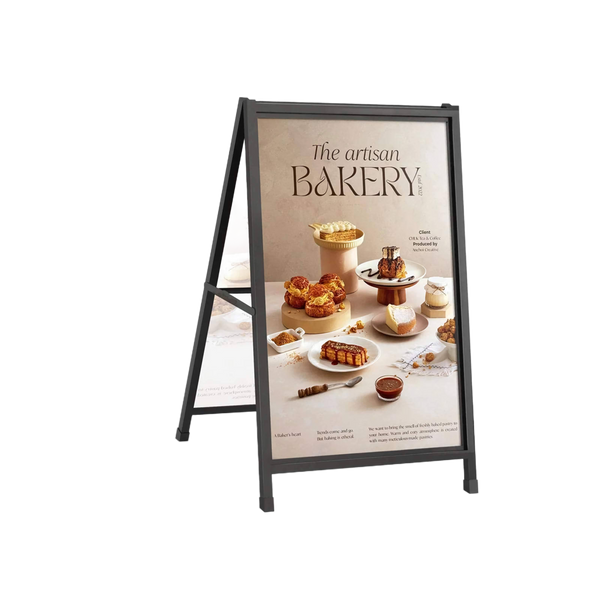
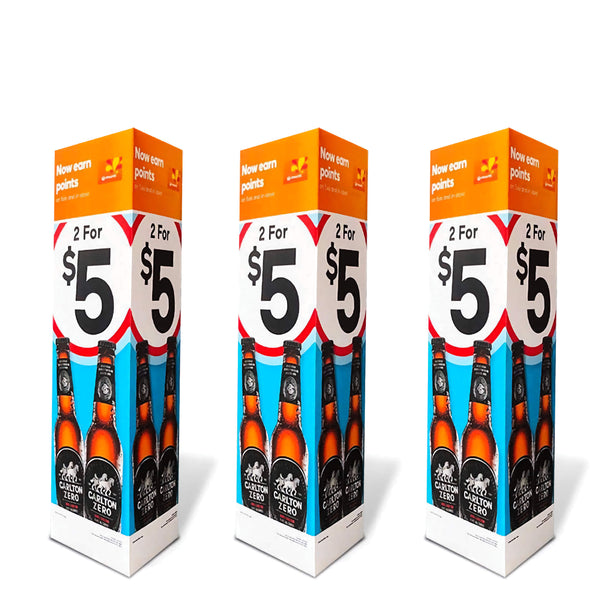
A printed marketing signage with errors that you could have avoided with proper proofing will make a terrible first impression on your clients. After all, with advertising signage such as A-Frame Signs, Rigid signs, Counter Cards, and Standees, it’s all about making that first impression count!
You definitely don’t want a printed sign that has visible and off-putting mistakes in it as that would require you to reprint it, which will cost you more money. A thorough proofing process is vital to avoid all such mistakes.
So, here are 5 solid proofing tips that you should follow to end up with a perfect signage:
1. Proof Your Words
Spellcheckers are a great proofreading tool, but they have their limits – they can be unreliable. So, before you send your file to the printers, make sure to read every word of your content several times to ensure that there are no silly typos. Check your file, make alterations if required, and then recheck it.
A solid tip is to ask someone else to proofread your file as well. Other people can easily spot mistakes in the work you have done.
2. Check Your Formatting
A lot of times, you decide to change the font of your content mid-creation. However, with such constant changes, it’s quite common to end up with a file that has formatting errors in it. What we mean is that you could unintentionally end up with two different fonts within your document!
The same is the case with shadows and colours when it comes to graphics. So, make sure that you evaluate all separate elements of your file to ensure that there is nothing out of place and the formatting is sound all across the board.
3. True Colors Shining Through
It can be a bit technical to keep your graphic colors constant throughout the designing and printing process. Though you might be tempted to use the RGB format for your colors, it’s best to stick to the CMYK process for solid digital printing results.
The graphics on the screen may look different after being printed. A pro tip for maintaining the quality and intensity of your print colors is to print out a test file to compare the colours. It will help you make the needed adjustments.
4. Fix Your File Resolution
For small scale printing projects such as booklets, business cards, etc., you can save your file at a resolution of 300 DPI. However, large format projects such as A-Frame signs, Standees, Rigid Signs, offer a flexible resolution range.
You need to save your graphics on canvas with a resolution of 100 DPI. Make sure to always save your graphics with the highest resolution since you can scale down the image but you cannot add more pixels later in the game.
5. Set Your Bleed
A bleed is that part of your file which will be cut off during the printing process. Bleeds are set by crop marks that indicate where to cut your print to give it the desired shape. You need to account for the bleed of your printer and your project size when you set your file’s bleed. The ideal bleed size for small format projects is 1/8″, while large format projects require a 1/4″ or larger bleed size.
Follow these 5 proofing tips to end up with a flawless printed project!


