How to Install Custom Printed Wallpaper

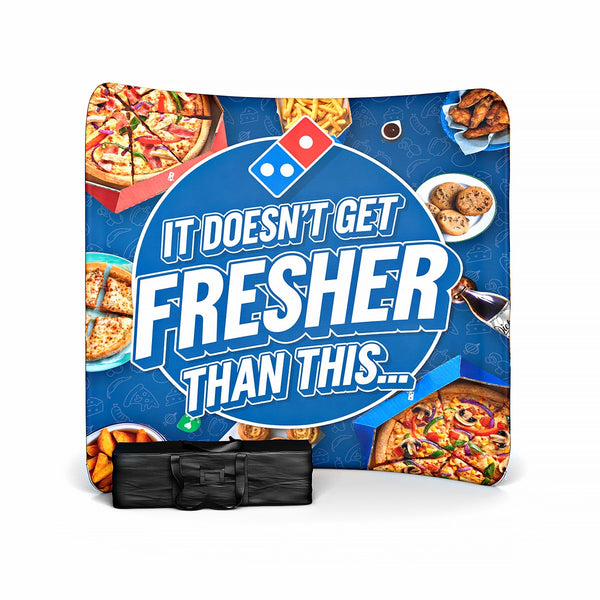
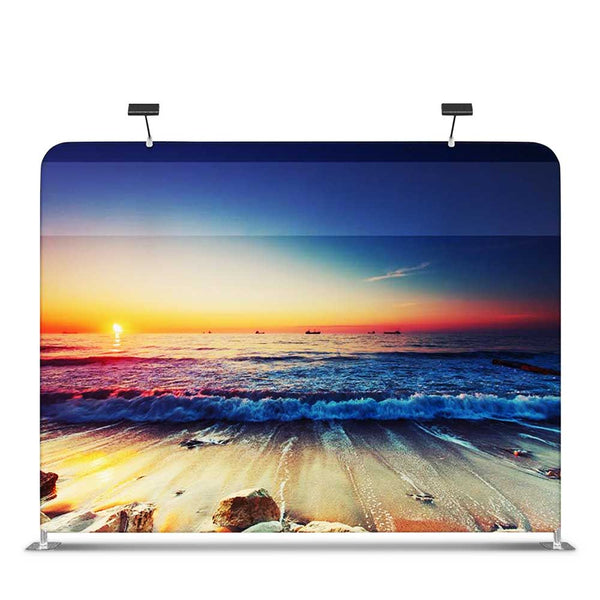
Custom printed wallpapers are the edge that you need to get your brand noticed. The best thing about having a media wall that has a wallpaper of your own design is that it’s unique, so you can make it as specific to your brand as possible. Installing wallpaper isn’t that difficult, but if you’re looking for a step by step on how to do it anyway—we’re here to guide you.
Design the Wallpaper
The first essential element that all amazing exhibition stands and displays have is the element of uniqueness. When you’re picking out and designing wallpaper, make sure you know what aspect of your brand you want your wallpaper to represent.
You can get a template designed that has the right balance of your company’s logo and colours. You can also make it creative enough for people to be drawn to your brand. You can opt for wall murals too, because they stand out and encourage people to take photos with them.
Make sure you order a design that has been customized to fit the exact size of the wall that you’re going to work on. You’ll also have a few options for what material you want it to be. It can be permanent or removable, depending on what purpose you need it for.
How to Install the Wallpaper
Once you’ve selected the wallpaper, the next step is to begin the installation.
Mark Out the Area
To avoid messing up the wallpaper in the middle of the installation process, use a pencil to mark out where you need the wallpaper to be applied. Trace lines with a tape measure, because once the wallpaper is glued on, you aren’t going to be able to make any changes without tearing the paper and ruining the potential media wall.
Clear the Area
Some people don’t take this into account, but a dirty wall won’t allow the wallpaper to stick on as effectively as a clean wall. Wipe down the wall you’re going to apply the wallpaper on and remove anything that could come in your way, like a light fixture, hooks or nails.
Start the Application
If you have the easy installation wallpaper that can be applied with only water, you can follow these steps:
- Roll the wallpaper with the printed side facing inwards. Submerge it in water for around 10-15 seconds. Don’t keep it in there for longer, or you risk breaking the wallpaper.
- Take out the wallpaper and roll it again with the printed side facing outward and hold it like that for around 1 minute to straighten out the paper.
- Place the wallpaper on the wall over the lines you had made before.
- Use a dry sponge to pat down the paper and even out any bubbles. Once it starts to dry, the excess bubbles will start to evaporate on their own as well.
- Use the sponge to remove any leftover moisture as well.
- Trim the edges so they’re not sticking out from any side of the wall.
- Let the wallpaper dry for 30 minutes or more.
Final Words
Amazing exhibition stands or stores don’t stand out on their own. They stand out because you pick a wallpaper that adds a special touch to your workspace. With the help of a friend, you can easily install your own wallpaper; just make sure that it is wallpaper that you’ll love seeing every day.


