Why Your Logo Looks Blurry When Printed Large (and How to Fix It)
You approve the proof, the banner arrives — and your crisp logo is soft and fuzzy. It’s one of the most common (and most avoidable) print problems, and it almost always comes down to one thing: the logo file didn’t have enough detail to be printed that big. A blurry logo isn’t just a design annoyance — it’s wasted print spend, weaker branding, and a stand or sign that looks less professional than the business behind it. Here’s why it happens and exactly how to avoid it.

Why logos go blurry when you scale them up
Most logo files are raster images — made of a fixed grid of pixels (JPG, PNG, GIF). A logo saved at the size of a business card simply doesn’t contain many pixels. Stretch that same file across a banner or a media wall and the printer has to spread those few pixels over a huge area, so the edges go soft and jagged. The file isn’t “broken” — it just never had the detail for that size.
It looks fine on your phone because a screen is small and low-resolution. Print is unforgiving: at 1–3 metres wide, every missing pixel shows.
The real fix: supply a vector logo
A vector logo (AI, EPS, SVG or vector PDF) isn’t made of pixels — it’s made of maths (points and curves). That means it can be scaled from a business card to a six-metre wall with zero loss of sharpness. This is why designers build logos as vectors, and why “please send the vector version” is the single most useful thing a printer can ask for. If you have it, send it — problem solved.
Real examples
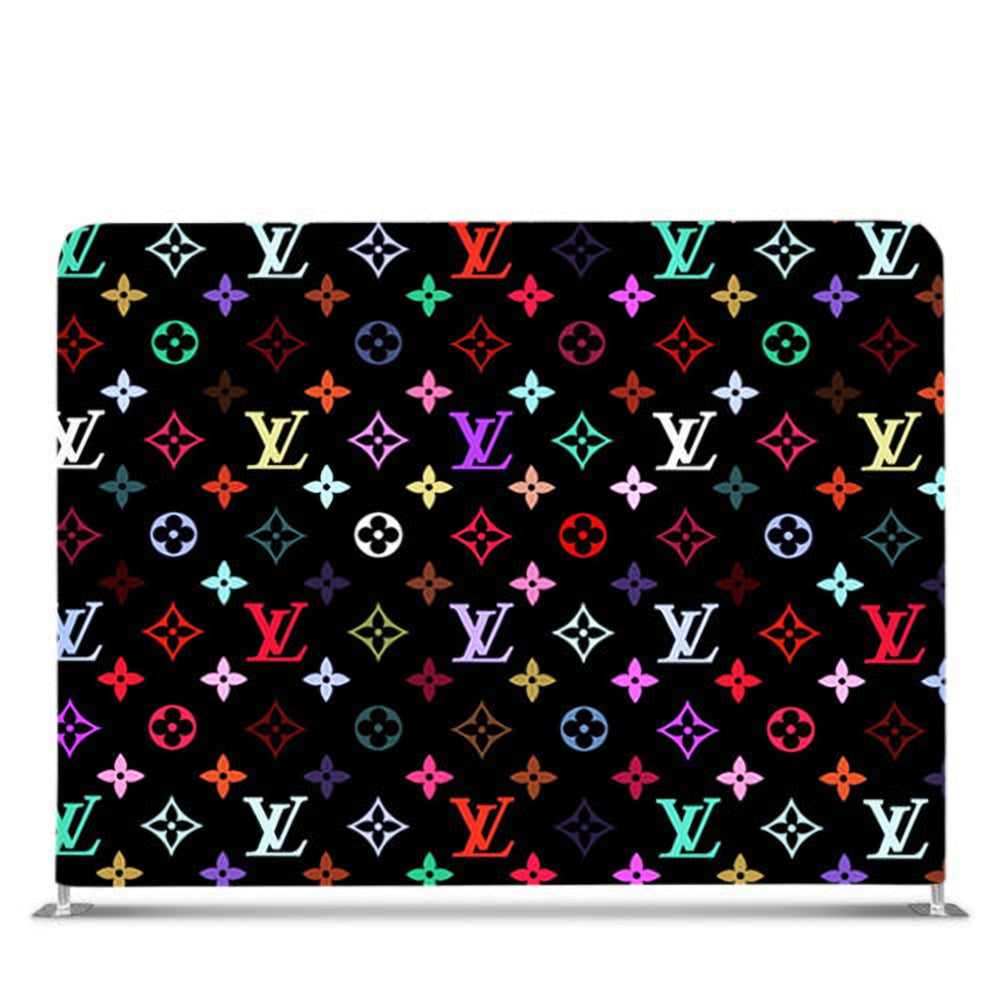
- A logo that looks perfectly sharp on a business card can turn blurry when enlarged to a 3-metre-wide media wall — same file, far bigger canvas.
- A social-media profile image is usually only a couple of hundred pixels — fine online, far too small for a pull up banner.
- A screenshot of a logo (from a website or a PDF) is rarely suitable for large-format printing — it captures only what was on screen, at screen resolution.
How to check your logo before you order
- Do you have an AI, EPS, SVG or vector PDF? If yes, that’s your file — you’re sorted at any size.
- Only have a JPG or PNG? Open it and zoom in to 100% or more. If the edges already look soft on screen, they’ll be worse in print.
- Check the pixel size. A logo that’s only a few hundred pixels wide won’t enlarge well. As a rough guide, the bigger the print, the more pixels you need.
- Avoid “upscaling” apps as a fix — they invent detail that wasn’t there and usually look worse in print.
The short version: a logo doesn’t get blurry because of the printer — it gets blurry because the file was too small for the size. Send a vector logo and it stays razor-sharp at any size.
Only have a small or low-res logo?
It happens — the original artwork gets lost, or you’ve only ever had a web version. Our design team can often redraw or vectorise your logo so it prints sharp at any size, before it goes anywhere near the press. It’s a small step that protects your branding on every sign you order from then on.
Related guides
- 10 artwork mistakes that delay printing (low-res logos are #1)
- Print-ready file requirements
More print-prep guides are on the way — vector vs JPG vs PNG, RGB vs CMYK, and bleed & safe areas.
Order with confidence
Whether it’s flags, pull up banners or a media wall, send us your best logo file (vector if you have it) and we’ll make sure it’s print-ready before we run it. Contact our team or let our design team prepare the artwork — printed in Australia, usually within 24 hours of approval.